Thursday, July 12, 2007

VBA test - adding dates

I'm just setting up my template at the moment to handle VBA formatting - and I thought it might be a good test to use a practical example. The following code is used to add dates in VBA:

Dim FirstDate As Date ' Declare variables.
Dim IntervalType As String
Dim Number As Integer
Dim Msg
IntervalType = "m" ' "m" specifies months as interval.
FirstDate = InputBox("Enter a date")
Number = InputBox("Enter number of months to add")
Msg = "New date: " & DateAdd(IntervalType, Number, FirstDate)
MsgBox Msg


The "m" used here to signify "months" could also be substituted out as one of the following:
yyyy Year
q    Quarter
m    Month
y    Day of year
d    Day
w    Weekday
ww   Week
h    Hour
n    Minute
s    Second

Labels: , ,

Friday, June 8, 2007

Easy Screen

When in a pinch for time there's a simple method I use to create a screen or glossy button. It goes a little something like this:

Create the shape of your button/screen (it could be anything you like, though this generally works best with organic shapes or at least rounded corners). Work with a reasonably bright color - this example uses #EBD200.
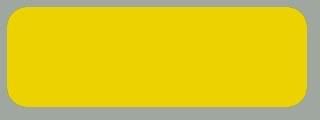
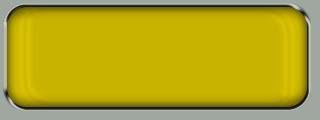
Create your base shape on a seperate layer in Photoshop. Here's mine:


Double-click this layer in the Layers palette to access the Layer Style dialog box. First thing to do is add an Outer Glow. Set the color to black and the size to 5px.
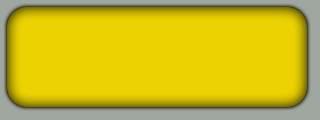
Next, add an Inner Glow. Again, color is black, but this time set the size to 15px. Blend mode for both of these Glows is 'Multiply' and Opacity is 75%. This is how it looks so far:


Now add a Bevel and Emboss. Set the Style to 'Outer Bevel', Size to 5px. Change the Gloss Contour to 'Ring - Double'.


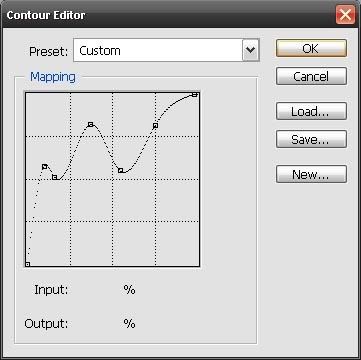
The next step is where you can change the look of your screen quite dramatically and very simply. Add a Satin style, Blend Mode='Multiply', Opacity=15%, Angle should be low (I've used 14%), Distance=20px and Size=16px. Create a custom contour by clicking on the Contour shape. My contour looked like this.


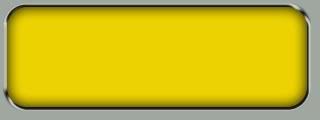
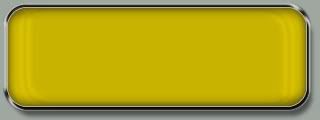
Finally, to give the screen a little more depth, add a Stroke style, Size=2px, Position='Inside', Opacity=20%. Set the Fill Type to 'Color' and select a light version of your screens base color. In this example I've used #FEFFA3, but in most cases a light gray is sufficient. Here's the finished article:

Labels: ,

Thursday, May 17, 2007

Color scales in PhotoShop

You're editing your blog template and you've got one really good color that you want to use. Great, but how do you select other colors to look like they belong?
This is the way that I go about creating a scaled color palette that tends to work with any initial color.

I like to start with my darkest color, but this isn't a necessity. But seeing I'm writing this tute, here's my darkest color:
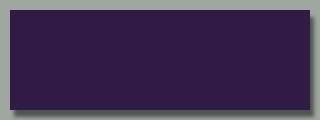


But what matches this? What I like to do is fill my Photoshop background with this color (I've used #311A46). Then, on a new layer, make a decent sized selection and fill with white. Yep. White. It should look like this:
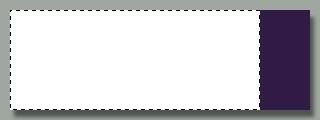


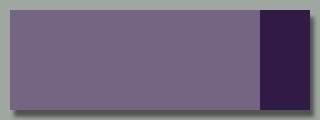
Now, here's the trick. In the Layers palette, change the opacity of this white layer back to about 33%. You can use a lower percentage, but I find that about 30-40% gives a good contrast between colors. Too higher percentage and you can only make 3 or 4 colors. By using 33% I find I can get a good spread of about 6 colors.


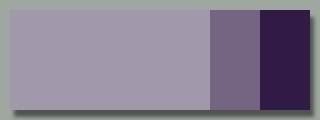
Now, make a copy of this white layer, and move it back a little so that it still overlaps the original white layer. You'll end up with something like this:


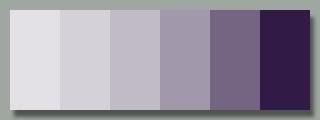
Continue this process, moving the new layer to overlap all previous layers. I try to get 5 or 6 levels of color (ie, 4 or 5 white layers plus the original) so I can get a good few layers in my blog template. This is the full 6 levels that I got from my initial color:


For an idea of how this color scheme looks, I've applied these colors to my site and this is the result.
You can use the same technique to make your base color darker by using a black or gray overlay. The downside of doing this is your colors tend to look quite dark after just one or two overlays. I usually lower the opacity to about 20% if making the layer darker.

Labels: ,